Background
CodeLite's build system uses its internal makefile generator to generate a makefile based on the settings found in the
Workspace, Projects, environment variables and build settings.
However, there are cases when the user wishes to uses its own makefiles
To allow this, CodeLite supports 'Custom Makefile' project, these projects simply executes the user commands instead of generating makefiles + running them
Creating a custom project
- From the main menu:
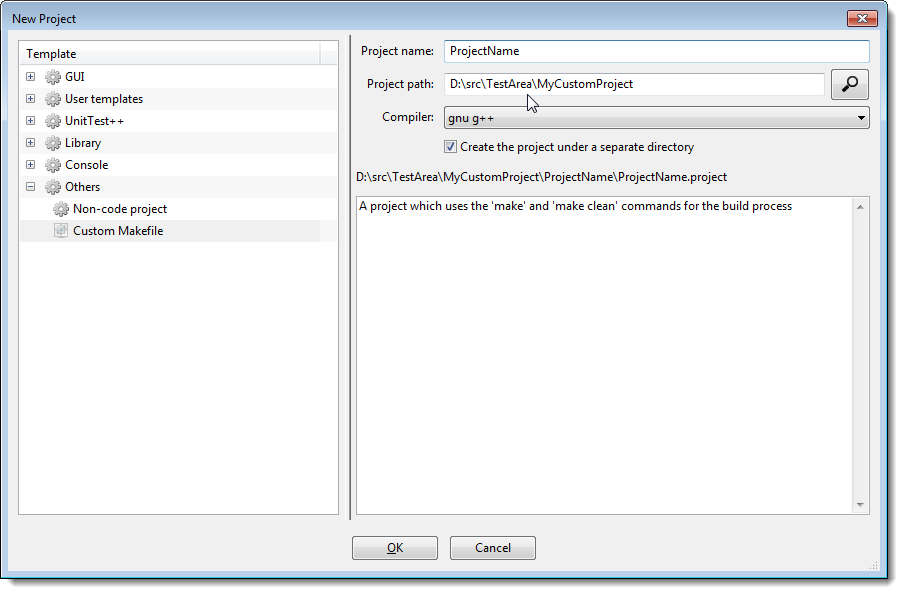
Workspace -> New Project and select the template Others -> Custom Makefile , fill in the path of the project + its name and click OK
- Right click on the project, and select Settings... and open the Project Settings dialog
- Fill in the build and the clean commands
- Switch to the 'General' tab, and select the appropriate compiler for you (gcc, g++ or VC++) - the purpose of this step, is to tell CodeLite how to parse the output comes from the user's makefile
- Click OK, and you are ready to go
Example
Assuming a that you have legacy code that resides under D:\TestArea\MyCustomProject and uses makefile for the build process.
The fastest way to import this project into CodeLite is:
- Create a new project Workspace -> Create New Project give it any name and place it under
D:\TestArea\MyCustomProject ( you can check the option 'create the project under a separate directory' )
- Right-click on the project, and select Import Files From Directory. The import dialog will pop up; accept its defaults and click OK.
- Once the import process completes, you can expand the tree to the left, where you should see all source files imported from the disk.
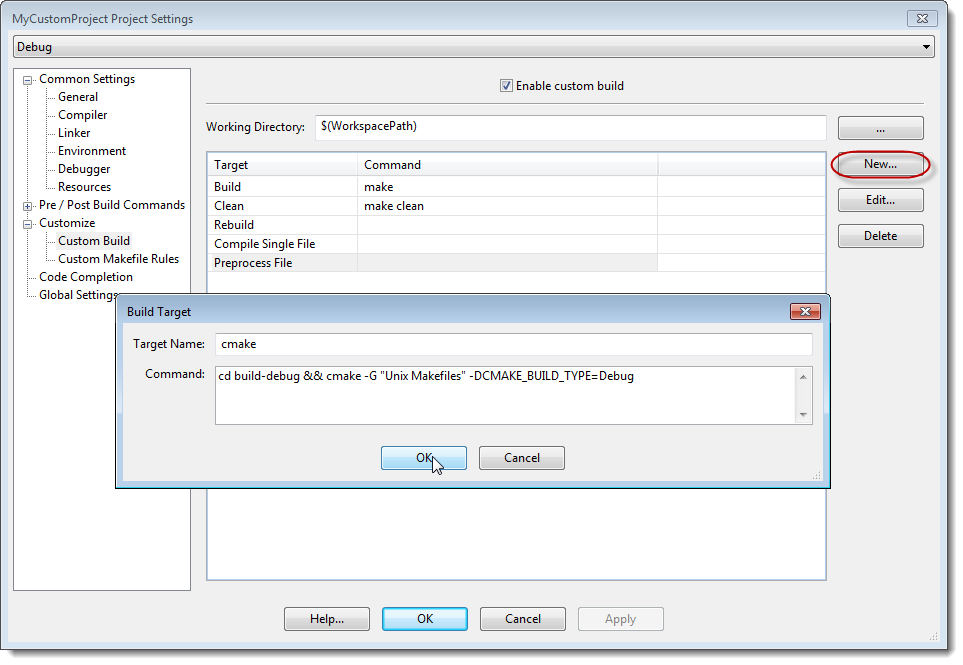
- You can add / delete any targets from the Project Settings -> Customize -> Custom Build , the below screenshot shows how to add a cmake target
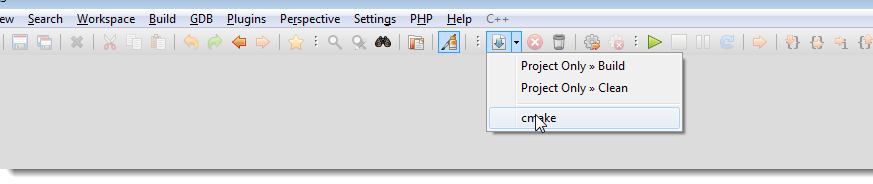
You can access all the targets from the menu bar as shown below or by right clicking on the project and select Custom Build Targets