
|
Downloads
Wiki
Build CodeLite
Devs
|
Main /
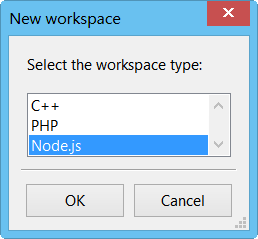
NodejsOn this page... (hide) Download Latest CodeLite from here GeneralNode.js® is a platform built on Chrome's JavaScript runtime for easily building fast, scalable network applications. Node.js uses an event-driven, non-blocking I/O model that makes it lightweight and efficient, perfect for data-intensive real-time applications that run across distributed devices. With Recent builds of CodeLite, it is possible to create, run and debug Node.js applications. In short, Node.js is server side JavaScript engine Node.js WorkspaceTo fully maximize CodeLite's JavaScript capabilities, you first need to create a workspace.
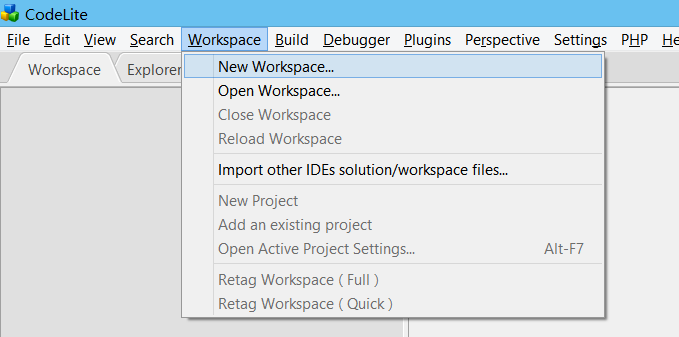
A Node.js workspace is simply a folder with a single JSON file You can create a workspace for an existing source files or create a new workspace. Create a new workspace
 Create a workspace from an existing source filesYou can create a workspace from an existing source files by following the previous section with minor changes:
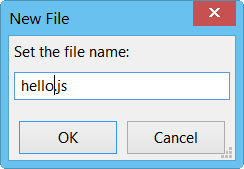
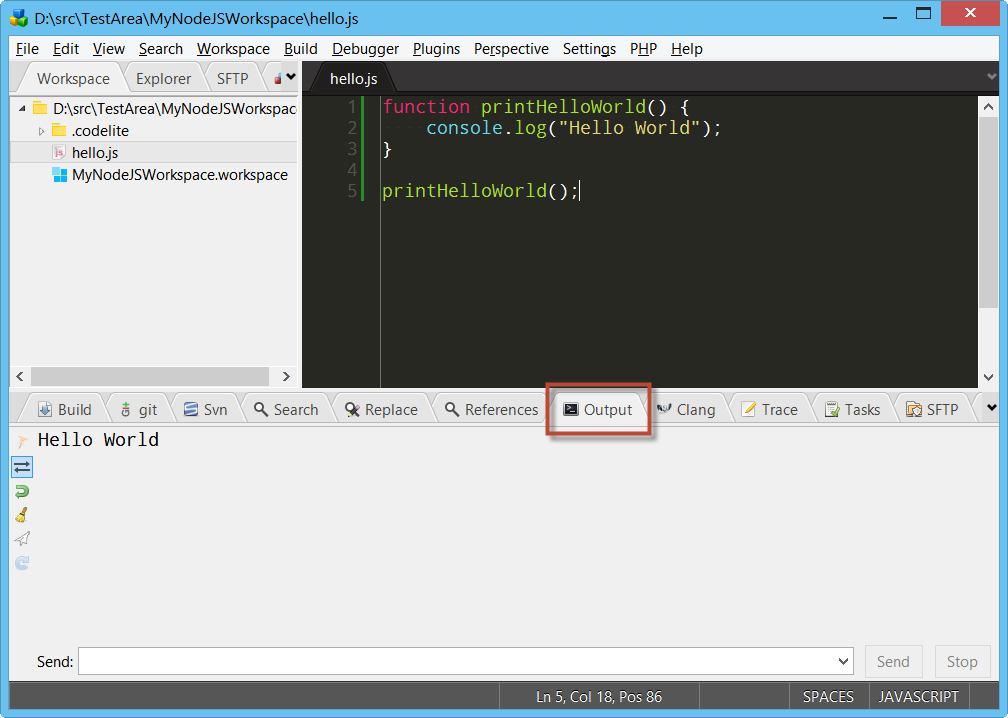
Another option (simpler): Open your file browser (Windows Explorer, Finder, Dolphin etc), drag the folder that contain your sources and drop it on the Workspace tab Writing Hello WorldNow that we have created a workspace, its time to create a simple
function printHelloWorld() {
    console.log("Hello World");
}

printHelloWorld();
Note that CodeLite offers an excellent Java Script code completion based on the tern project 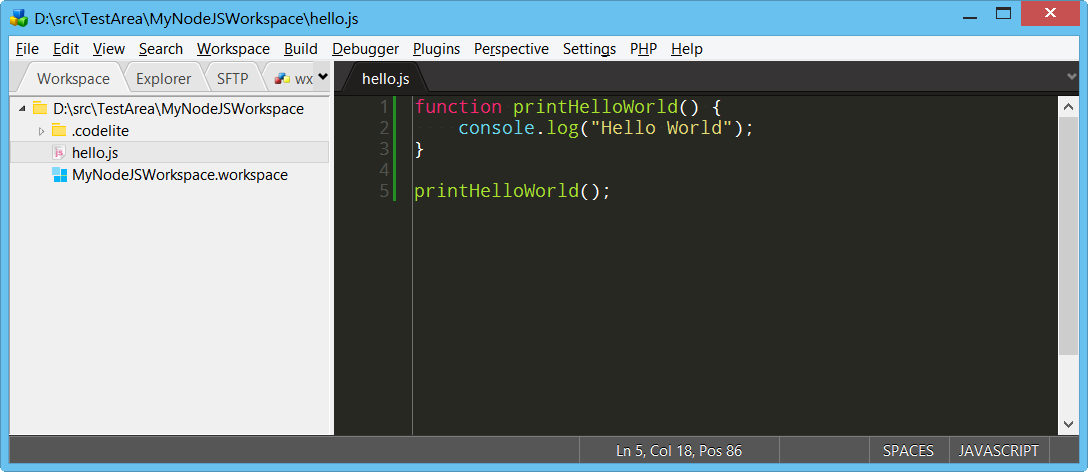
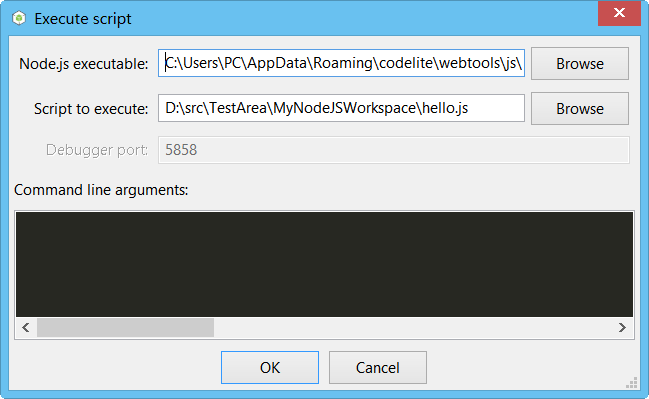
 Use Debugging our Hello World sampleDebugging a
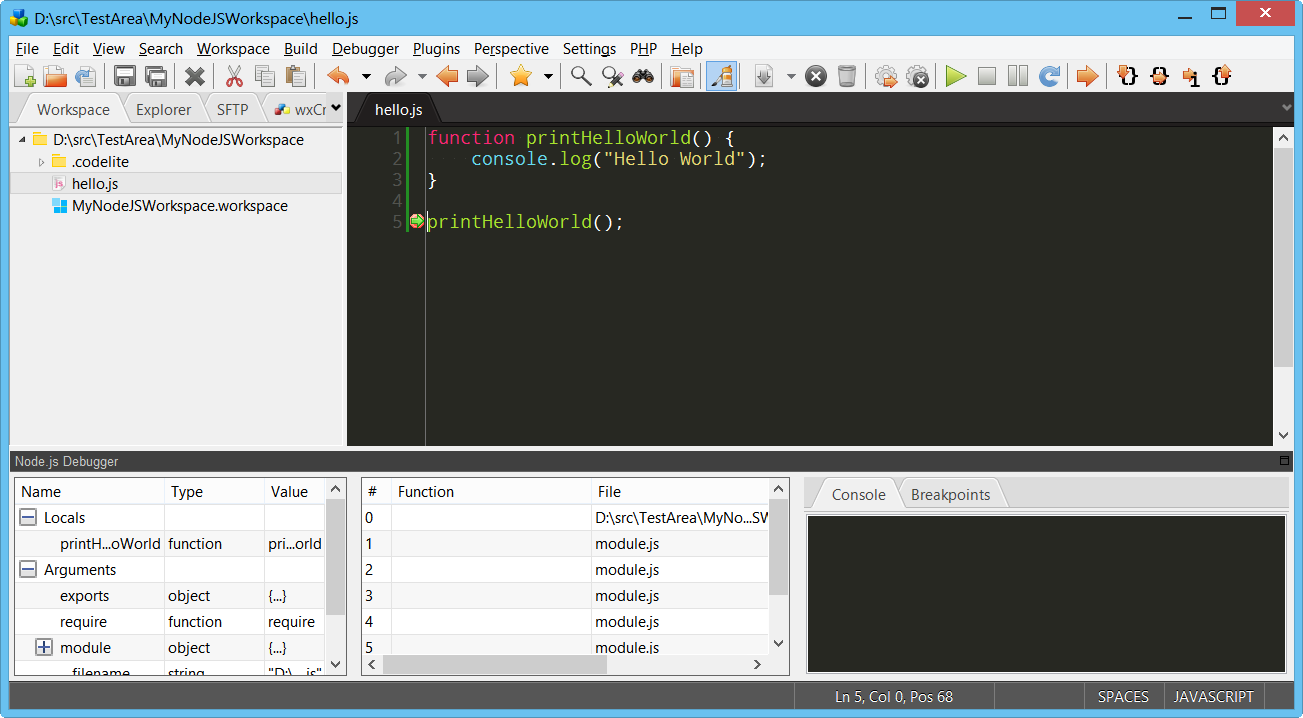 You can now use the following keyboard shortcuts (or use the toolbar):
Showing tooltip 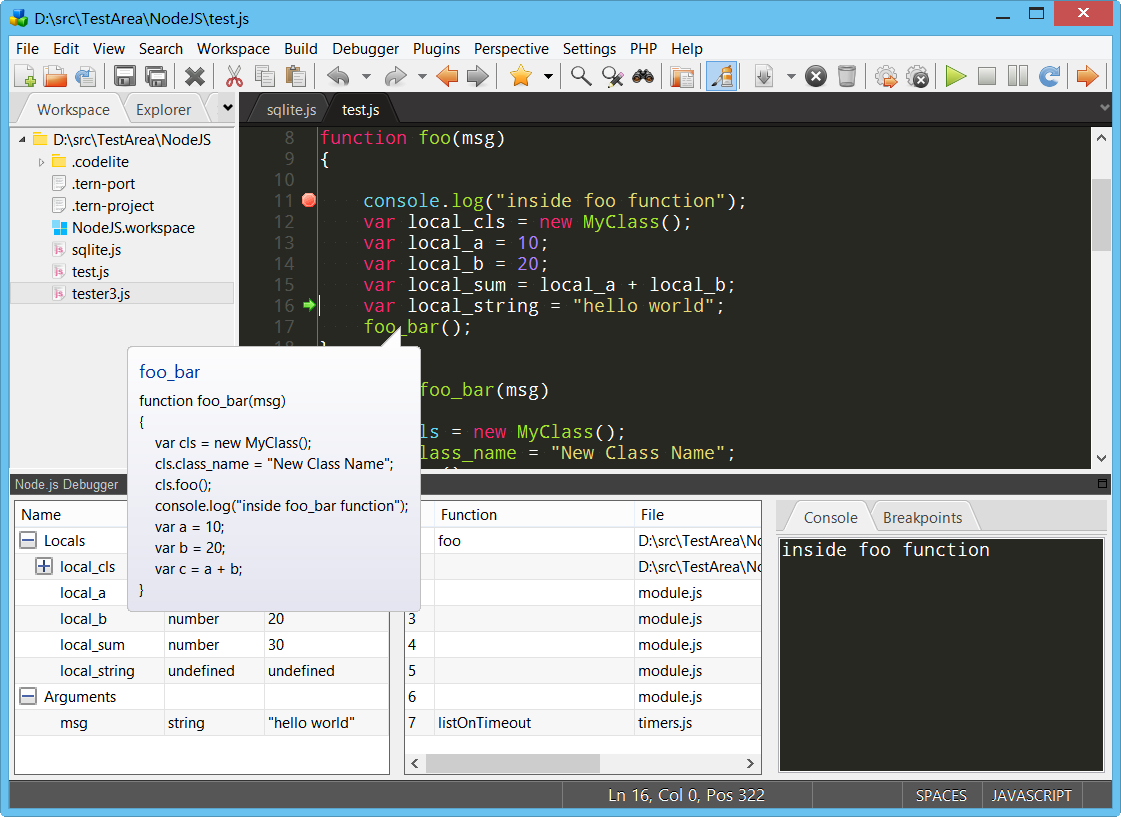 |