
|
Downloads
Wiki
Build CodeLite
Devs
|
Main /
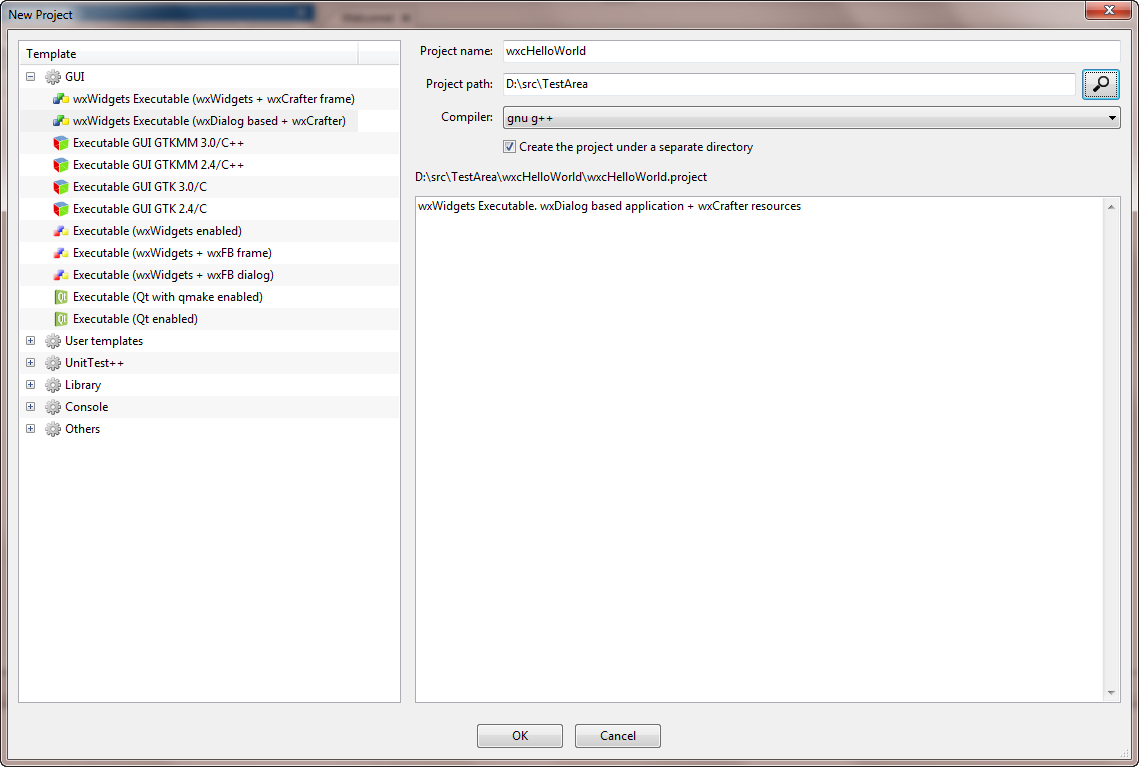
WxCrafterHelloWorldwxCrafter is a RAD plugin for developing wxWidgets UI applications. You should have a basic knowledge of wxWidgets. See here and here for some information on wxWidgets. In this tutorial, we will create a simple wxDialog with a "Hello World" button and connect an event to it.
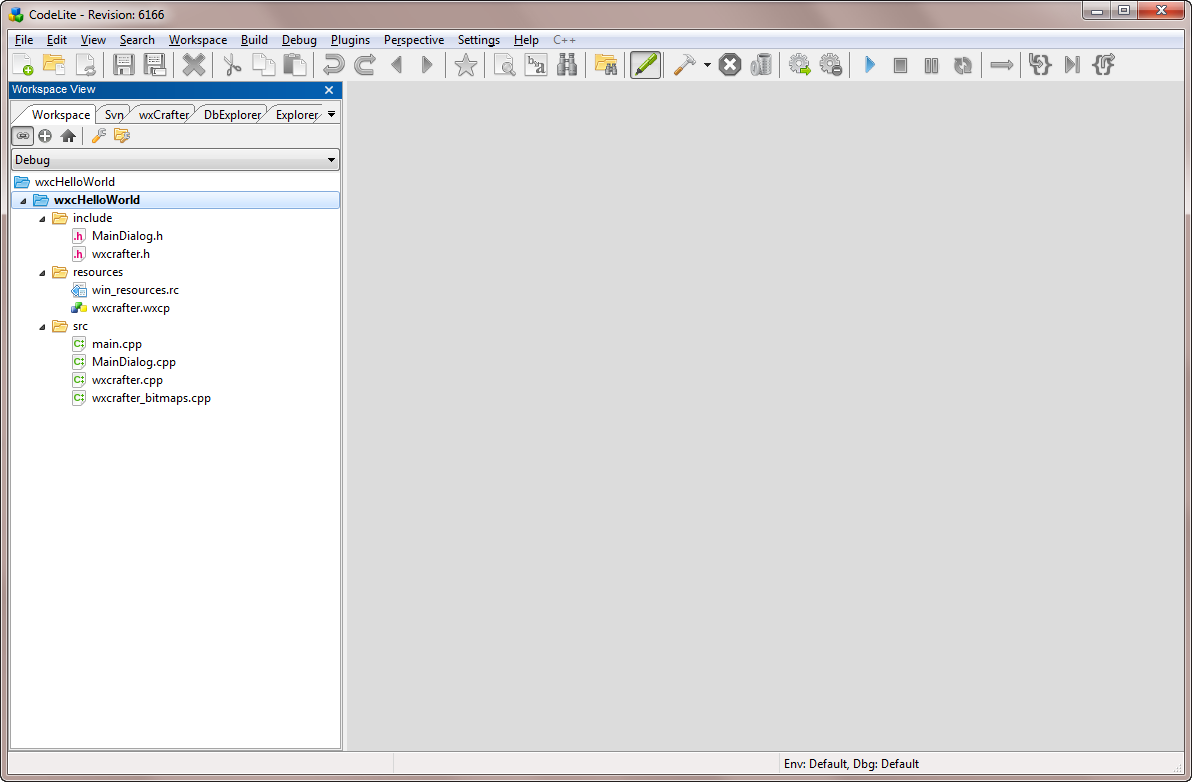 The following table gives a brief description about the generated files:
 Now, what we would like to do is:
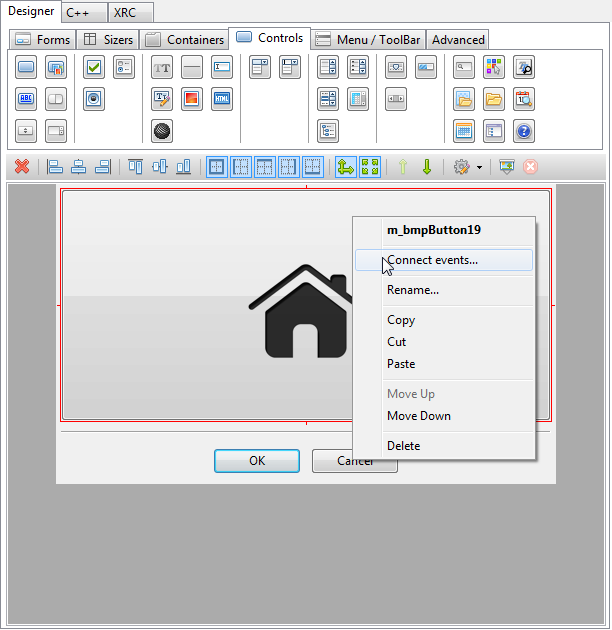
Since controls can only be placed inside sizers, we need to select a sizer in the wxCrafter tree view, so select the 'mainSizer' control in the wxCrafter tab. In the controls toolbox, select the 'Controls' tab and click on a wxBitmapButton button 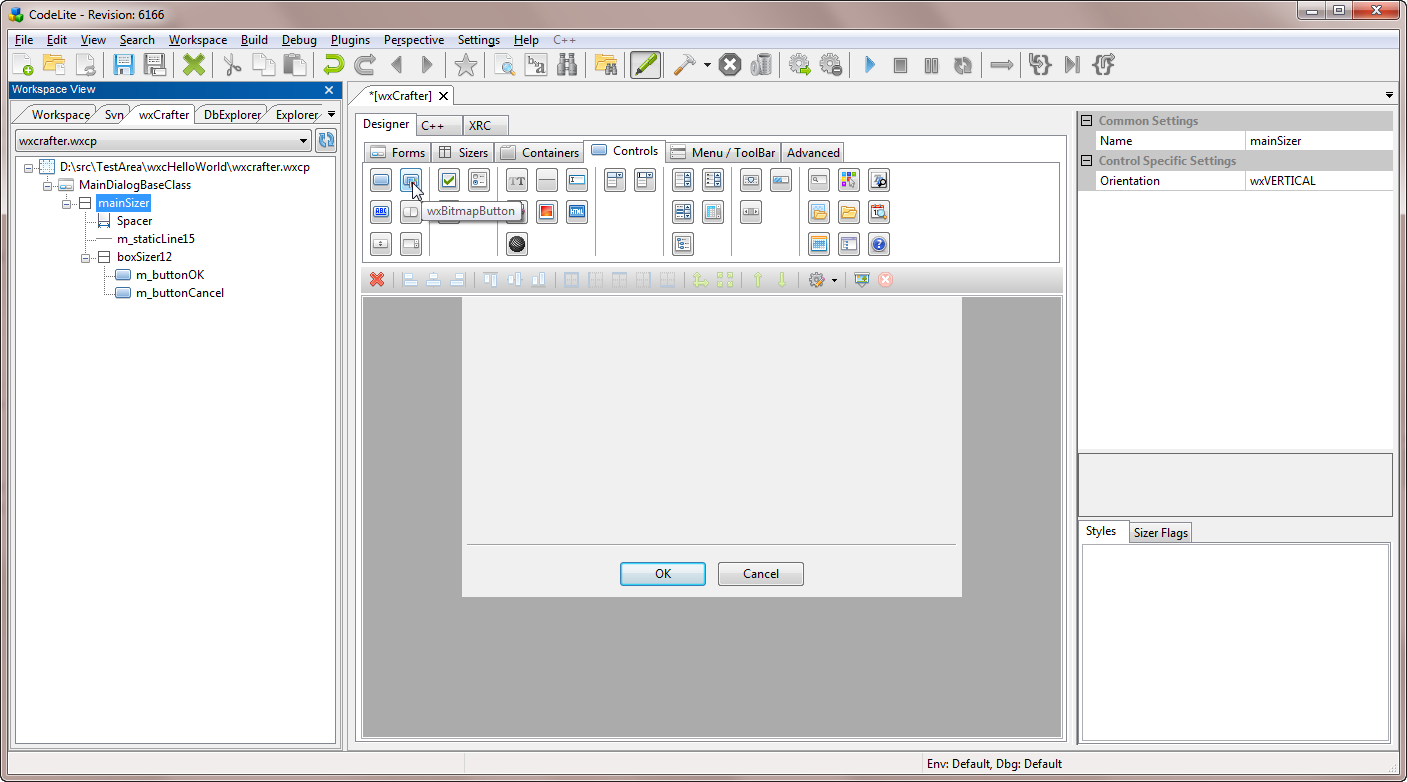 Make sure that button will take all the available space by clicking on the wxEXPAND button and setting the button proportion to 1  Move the new button up by dragging it (or use the up / down arrows in wxCrafter toolbar). Also let's remove the 'spacer' control 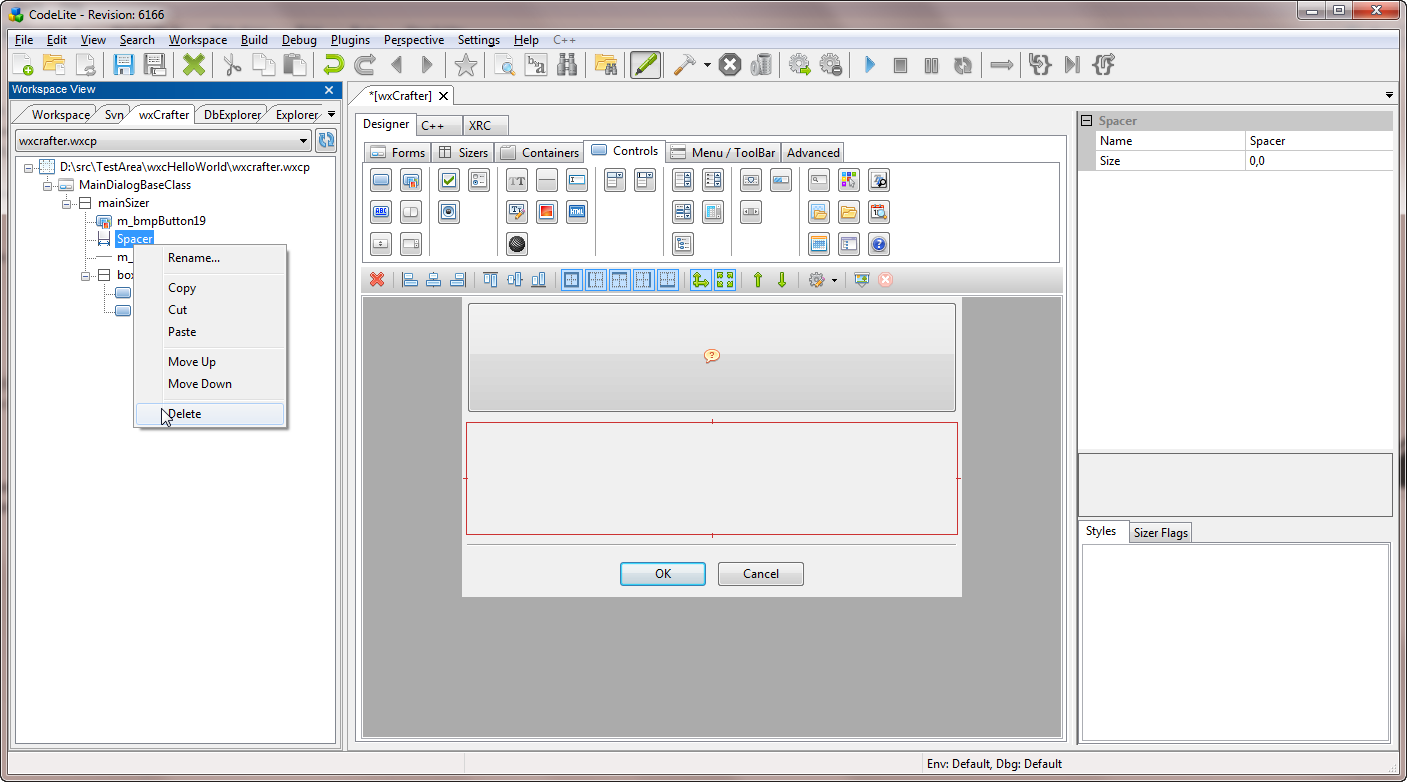 Now, select a nice bitmap for the button: 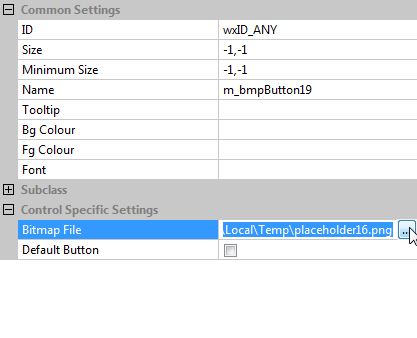 And finally let's connect an event to our button:
 In the 'Events Editor' dialog that shows, there are 2 tabs:
Under the 'Control Events' tab, type a name for our event-handler. wxCrafter will use it to generate the function. For the example I used 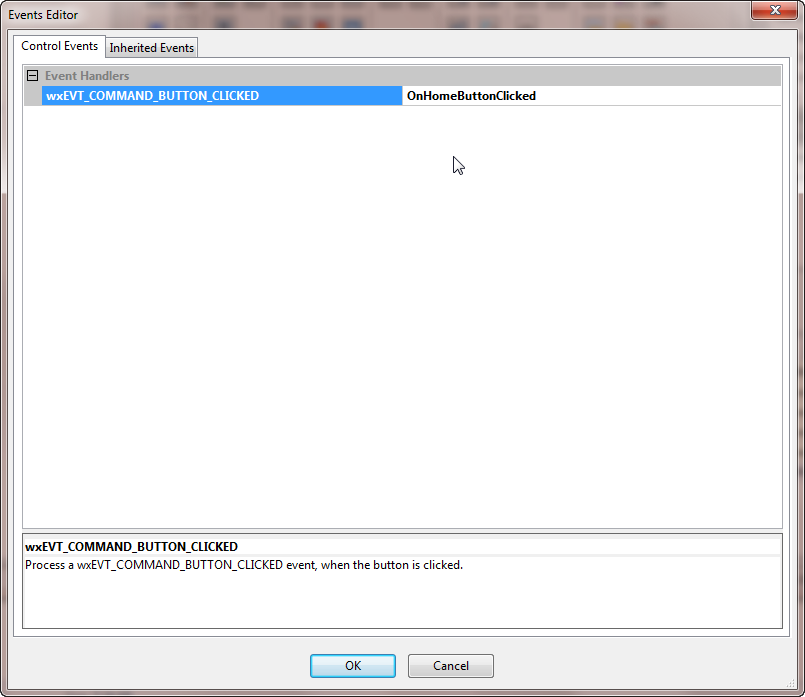 Finally, generate the code by clicking on the 'Generate Code' button:  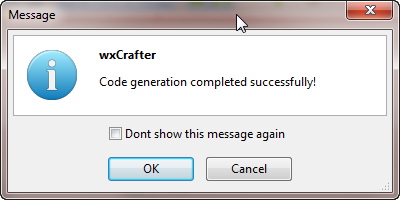 Open the file 'MainDialog.cpp' and you will see that wxCrafter added the following code to the class:
void MainDialog::OnHomeButtonClicked(wxCommandEvent& event)
{
}
Add a message box, so the code now becomes:
void MainDialog::OnHomeButtonClicked(wxCommandEvent& event)
{
    ::wxMessageBox(_("Hello World"));
}
Note that in order for the code to compile you also need to include: #include <wx/msgdlg.h> Compile the code and run it When running the project, you should now see this: 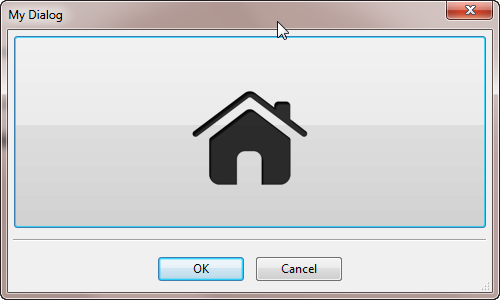 and when clicking on our button: 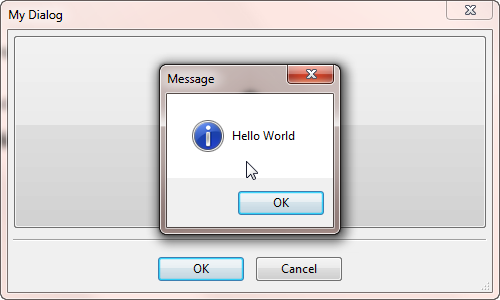 |